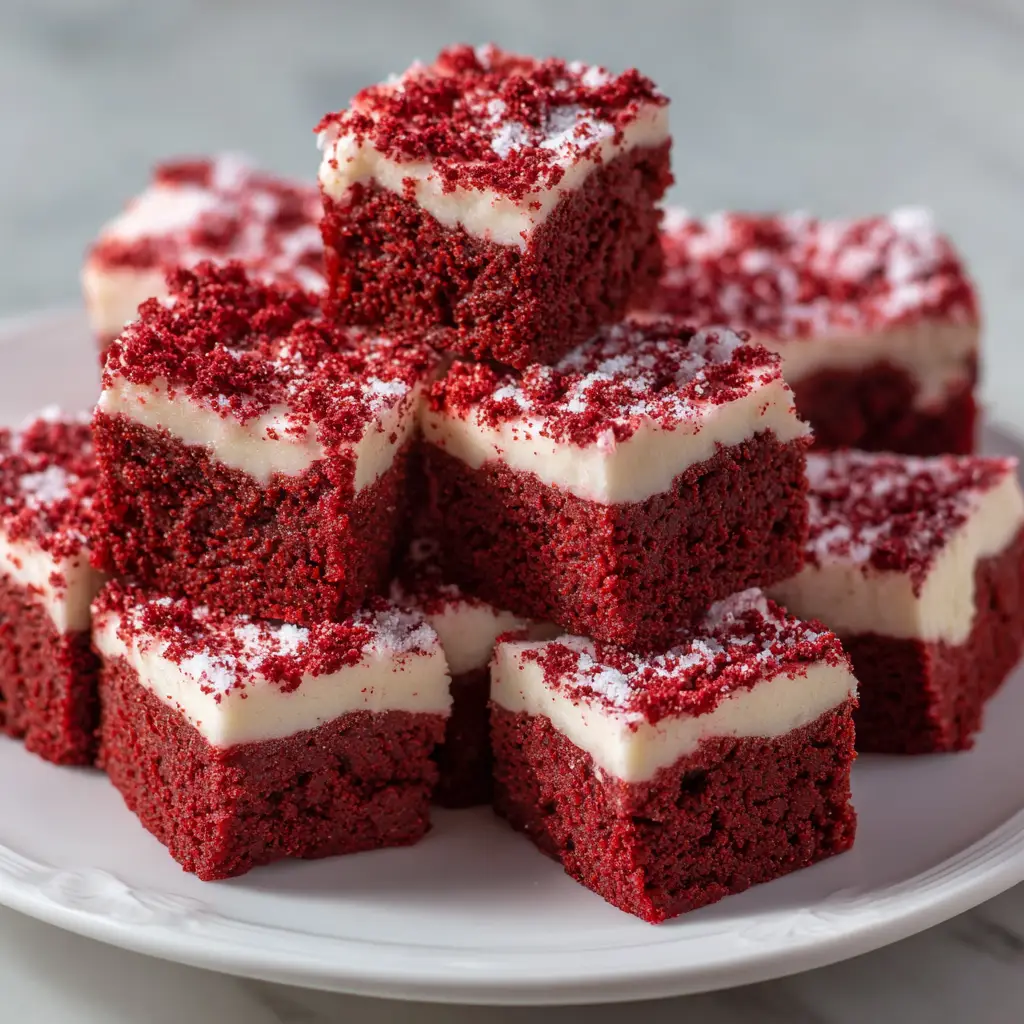
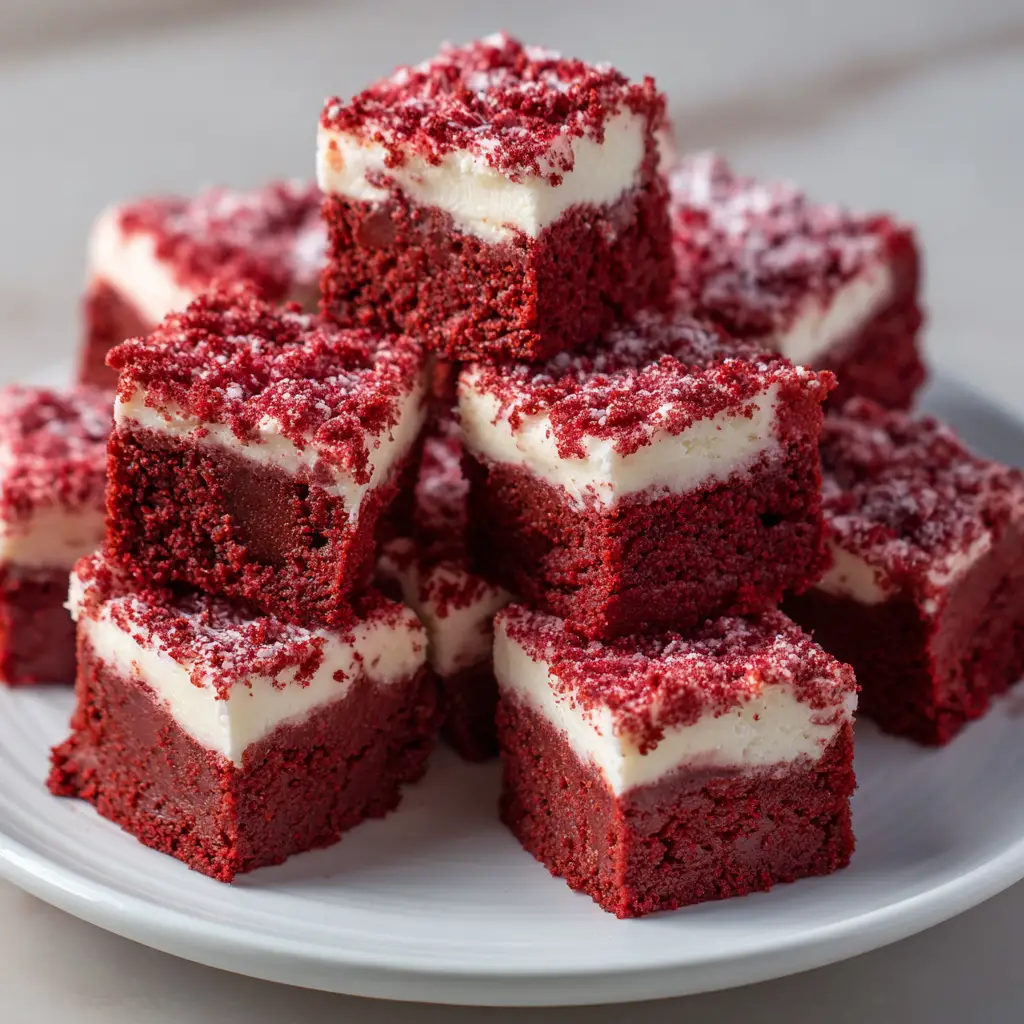
Introduction to Mini Red Velvet Fudge Cups
As a busy mom, I know how precious time can be, especially when it comes to whipping up something sweet. That’s why I absolutely adore these Mini Red Velvet Fudge Cups! They’re not just a treat; they’re a delightful surprise that can brighten anyone’s day. Imagine the rich, velvety flavor of red velvet cake combined with a creamy fudge center, all in a bite-sized cup. Perfect for parties, family gatherings, or just a cozy night in, these little gems are sure to impress your loved ones without taking hours in the kitchen.
Why You’ll Love This Mini Red Velvet Fudge Cups
These Mini Red Velvet Fudge Cups are a dream come true for anyone short on time but big on flavor. They come together in just 27 minutes, making them a quick solution for unexpected guests or a sweet treat after dinner. Plus, the combination of rich chocolate and the iconic red velvet flavor is simply irresistible. Trust me, once you try them, you’ll be hooked!
Ingredients for Mini Red Velvet Fudge Cups
Gathering the right ingredients is the first step to creating these delightful Mini Red Velvet Fudge Cups. Here’s what you’ll need:
- Red velvet cake mix: This is the star of the show, providing that signature flavor and color.
- Unsweetened cocoa powder: It adds depth and richness, balancing the sweetness of the fudge.
- Butter: Melted butter brings moisture and a lovely buttery flavor to the mix.
- Sweetened condensed milk: This creamy ingredient gives the fudge its luscious texture and sweetness.
- Chocolate chips: These little morsels melt beautifully, creating pockets of chocolatey goodness.
- Powdered sugar: A touch of sweetness that helps to thicken the fudge mixture.
- Vanilla extract: This adds a warm, aromatic flavor that enhances the overall taste.
- Salt: Just a pinch to balance the sweetness and elevate the flavors.
For those looking to get creative, consider adding a cream cheese frosting topping for an extra indulgent touch. You can mix cream cheese with powdered sugar and pipe it on top after the fudge cups have cooled.
If you’re in a pinch, you can substitute the red velvet cake mix with a chocolate cake mix for a different twist.
All ingredient quantities are listed at the bottom of the article for easy printing!
How to Make Mini Red Velvet Fudge Cups
Now that you have your ingredients ready, let’s dive into the fun part—making these Mini Red Velvet Fudge Cups! Follow these simple steps, and you’ll have a batch of delicious treats in no time.
Step 1: Preheat the Oven
First things first, preheat your oven to 350°F (175°C). Preheating is crucial because it ensures that your fudge cups bake evenly. A hot oven helps the batter rise and set properly, giving you that perfect texture. Trust me, you don’t want to skip this step!
Step 2: Mix the Base Ingredients
In a mixing bowl, combine the red velvet cake mix, unsweetened cocoa powder, melted butter, and sweetened condensed milk. Use a spatula or a whisk to blend everything together until it’s smooth and well combined. The mixture should be thick and creamy, almost like a luscious batter. This is where the magic begins!
Step 3: Add the Fudge Elements
Next, it’s time to fold in the chocolate chips, powdered sugar, vanilla extract, and salt. Gently mix these ingredients into your batter. The chocolate chips will melt slightly during baking, creating pockets of gooey goodness. The powdered sugar adds sweetness, while the vanilla and salt enhance the overall flavor. Make sure everything is evenly distributed!
Step 4: Prepare the Muffin Tin
Line a mini muffin tin with paper liners. This makes for easy removal and cleanup. Once lined, fill each cup with the fudge mixture, about three-quarters full. Don’t worry if they look a bit messy; they’ll puff up beautifully in the oven!
Step 5: Bake to Perfection
Pop the muffin tin into your preheated oven and bake for 10-12 minutes. Keep an eye on them! You’ll know they’re done when the tops look set and a toothpick inserted in the center comes out clean or with just a few moist crumbs. Overbaking can lead to dry fudge cups, so check them a minute or two early if you’re unsure.
Step 6: Cool and Serve
Once baked, remove the muffin tin from the oven and let it cool for a few minutes. Then, transfer the fudge cups to a wire rack to cool completely. This step is essential for achieving that perfect fudgy texture. Serve them as they are, or add a dollop of cream cheese frosting on top for an extra special treat!
Tips for Success
- Make sure your ingredients are at room temperature for better mixing.
- Don’t overmix the batter; a few lumps are okay!
- Use a cookie scoop for even portions in the muffin tin.
- Let the fudge cups cool completely before removing them from the liners.
- Experiment with different toppings like sprinkles or crushed nuts for added flair.
Equipment Needed
- Mini muffin tin: Essential for shaping your fudge cups. A regular muffin tin can work, but adjust baking time.
- Mixing bowls: Use one for wet ingredients and another for dry to simplify the process.
- Spatula or whisk: Perfect for mixing and folding ingredients together.
- Paper liners: These make cleanup a breeze. If you don’t have them, grease the tin well.
Variations
- Gluten-Free: Substitute the red velvet cake mix with a gluten-free cake mix to make these fudge cups suitable for gluten-sensitive friends.
- Nutty Delight: Add chopped walnuts or pecans to the batter for a delightful crunch and extra flavor.
- Mint Chocolate: Incorporate a few drops of peppermint extract for a refreshing twist on the classic flavor.
- Vegan Option: Use a vegan cake mix and replace the butter with coconut oil and the sweetened condensed milk with coconut cream.
- Spicy Kick: Add a pinch of cayenne pepper or cinnamon to the batter for a surprising flavor boost.
Serving Suggestions
- Pair these Mini Red Velvet Fudge Cups with a scoop of vanilla ice cream for a delightful contrast.
- Serve alongside a rich cup of coffee or a creamy latte to enhance the chocolatey flavors.
- For a festive touch, garnish with fresh raspberries or a sprinkle of powdered sugar.
FAQs about Mini Red Velvet Fudge Cups
Can I make Mini Red Velvet Fudge Cups ahead of time?
Absolutely! These fudge cups can be made a day in advance. Just store them in an airtight container in the fridge. They also freeze well, so you can prepare a batch and enjoy them later!
What can I use instead of red velvet cake mix?
If you don’t have red velvet cake mix on hand, a chocolate cake mix works beautifully as a substitute. You’ll still get that rich chocolate flavor, just without the signature red color.
How do I know when the fudge cups are done baking?
Keep an eye on them while baking! They’re done when the tops look set and a toothpick inserted in the center comes out clean or with a few moist crumbs. Overbaking can lead to dry fudge cups, so check a minute or two early.
Can I add toppings to my Mini Red Velvet Fudge Cups?
Definitely! A dollop of cream cheese frosting is a classic choice. You can also sprinkle them with crushed nuts, chocolate shavings, or colorful sprinkles for a fun twist!
Are these fudge cups suitable for a vegetarian diet?
Yes! These Mini Red Velvet Fudge Cups are vegetarian-friendly. Just ensure that the cake mix and any toppings you choose align with your dietary preferences.
Final Thoughts
Making Mini Red Velvet Fudge Cups is more than just baking; it’s about creating sweet moments that bring joy to your family and friends. These delightful treats are perfect for any occasion, whether it’s a birthday party or a cozy night in. The rich flavors and creamy fudge center will have everyone coming back for more. Plus, the ease of preparation means you can whip them up even on your busiest days. So, gather your ingredients, embrace the joy of baking, and indulge in these little bites of happiness. Trust me, they’ll become a favorite in no time!
Print
Mini Red Velvet Fudge Cups: Indulge in a Sweet Surprise!
- Prep Time: 15 minutes
- Cook Time: 12 minutes
- Total Time: 27 minutes
- Yield: 24 mini cups 1x
- Category: Dessert
- Method: Baking
- Cuisine: American
- Diet: Vegetarian
Description
Mini Red Velvet Fudge Cups are delightful bite-sized treats that combine the rich flavor of red velvet cake with a creamy fudge center, perfect for any occasion.
Ingredients
- 1 cup red velvet cake mix
- 1/2 cup unsweetened cocoa powder
- 1/4 cup butter, melted
- 1/2 cup sweetened condensed milk
- 1/2 cup chocolate chips
- 1/4 cup powdered sugar
- 1 teaspoon vanilla extract
- 1/4 teaspoon salt
Instructions
- Preheat the oven to 350°F (175°C).
- In a mixing bowl, combine the red velvet cake mix, cocoa powder, melted butter, and sweetened condensed milk until well blended.
- Fold in the chocolate chips, powdered sugar, vanilla extract, and salt.
- Line a mini muffin tin with paper liners and fill each cup with the fudge mixture.
- Bake for 10-12 minutes or until set.
- Allow to cool before serving.
Notes
- For a cream cheese frosting topping, mix cream cheese with powdered sugar and pipe it on top after cooling.
- Store in an airtight container for up to a week.
- These can be made ahead of time and frozen for later use.
Nutrition
- Serving Size: 1 cup
- Calories: 120
- Sugar: 10g
- Sodium: 50mg
- Fat: 6g
- Saturated Fat: 3g
- Unsaturated Fat: 2g
- Trans Fat: 0g
- Carbohydrates: 15g
- Fiber: 1g
- Protein: 2g
- Cholesterol: 15mg